

Can You Install an RO System Yourself? The DIY Walkthrough (2026)
Guide
Plumbers charge roughly $200–400 to install an under-sink reverse osmosis system — a real fee for what is, on a standard setup, about 90 minutes of methodical work with basic tools. The connections are push-fit and compression, the instructions in the box are adequate, and the only step that deserves genuine respect is drilling one hole. This walkthrough covers the whole job in sequence, flagging exactly where DIY ends and a professional earns their money.
The short answer: yes, most homeowners can install a standard tank RO system in 1–2 hours, provided the sink has an existing spare hole (or a stainless/laminate deck you can drill) and you work in order: feed water, faucet, drain, tubing, startup. Hire out three situations — drilling stone countertops, adding an electrical outlet for a tankless unit, and any install involving well-water pretreatment plumbing beyond the RO itself.
Table of Contents
Before you start: tools and reality checks
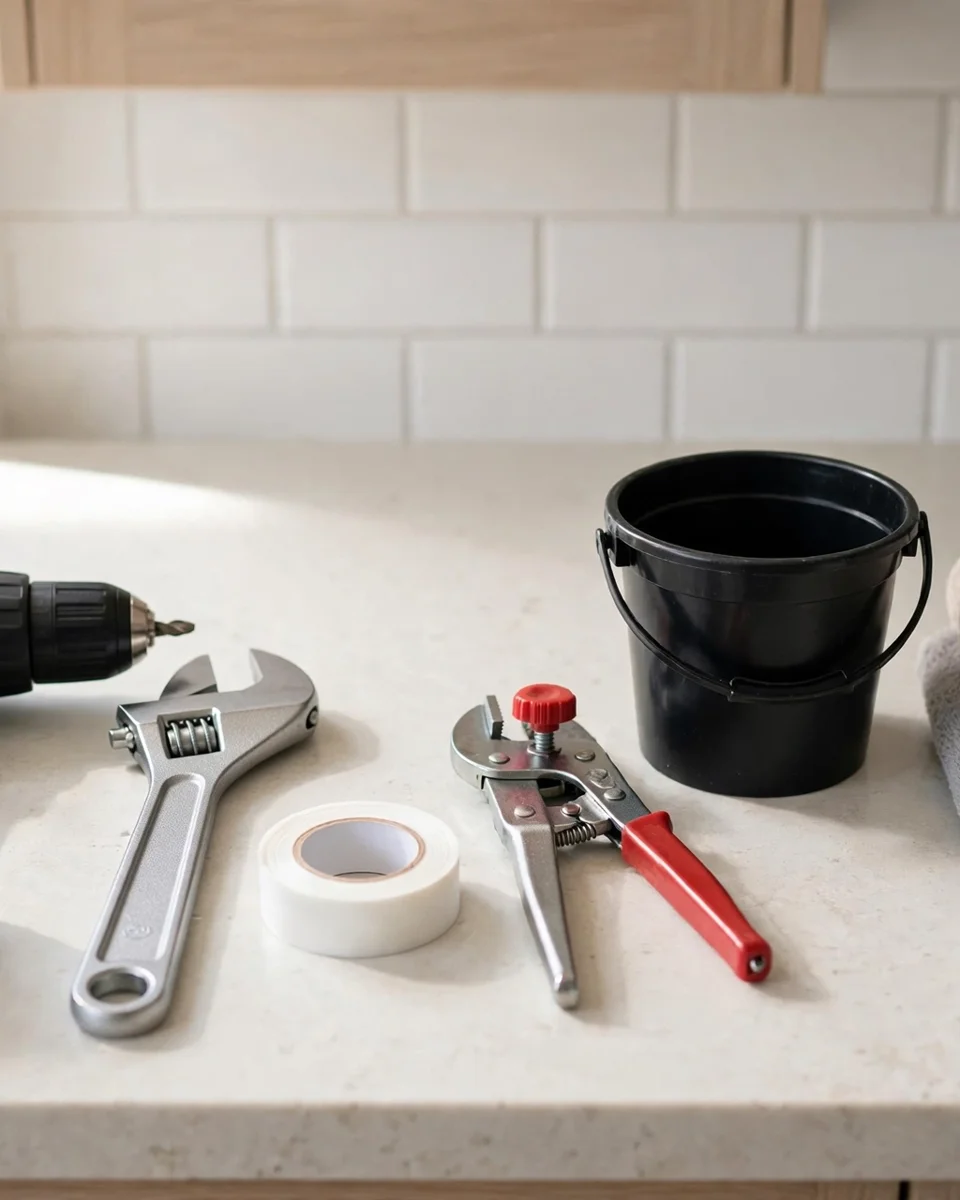
You need: an adjustable wrench, a drill with a small bit set, Teflon tape, a tubing cutter or sharp utility knife, a bucket and towels, and a flashlight. Reality checks before the box opens: measure the cabinet (unit + tank need roughly 15″ × 17″ of floor and 18″ of height for a standard system); find your faucet hole — many sinks have a spare hole under a cover plate or a soap dispenser you can relocate, and drilling is only needed when none exists; know your countertop material (stainless and laminate drill easily; granite, quartz and porcelain are the hire-it-out category below); and locate the cold-water shutoff under the sink and confirm it actually closes. Cold line only — RO membranes and hot water do not mix.
Step 1: feed water connection
Close the cold-water valve under the sink, open the faucet to relieve pressure, and keep the bucket handy for the cup of water that will escape. Modern RO kits include a feed-water adapter that tees into the cold line at the shutoff valve: disconnect the faucet’s supply riser, thread the adapter on (Teflon tape on the male threads), reconnect the riser to the adapter, and connect the RO’s inlet tubing to the adapter’s port with its small valve closed for now. Snug is the instruction — compression and plastic threads crack when gorilla’d, and a cracked feed adapter is the most common day-one leak. If your plumbing is old, corroded, or lacks a working shutoff, pause here: that valve replacement is cheap for a plumber and miserable as a surprise.
Step 2: the faucet
Using an existing hole: remove the cover or the soap dispenser, drop the RO faucet’s stem through, and secure it from below with the kit’s washer and nut — hand-tight plus a quarter turn, since the deck hardware is slender. Drilling stainless or laminate: mark, center-punch, drill a pilot hole, then the finish size your kit specifies (usually 1/4″–1/2″ progression to the faucet’s requirement), file any burr, and vacuum the metal shavings (they rust-stain sinks). Air-gap versus non-air-gap faucets: if your kit’s faucet has the extra drain connections (three tubes at the base), follow its diagram exactly — the air-gap style routes drain water up through the faucet body, and swapping its tubes is a classic source of gurgling and leaks. Connect the product-water tube from the system to the faucet last, after the drain lines, so nothing gets crossed.
Step 3: the drain saddle

The drain saddle clamps around the sink’s drain pipe to receive the RO’s reject water. Placement rules that matter: on a vertical section above the P-trap where possible, never on the garbage disposal itself or below the trap, and positioned so the saddle’s port faces a direction your drain tubing can reach without kinks. Clamp it evenly, then drill through the port with the size the kit specifies (typically 1/4″) — through the near wall of the pipe only; stopping the bit as it breaks through is the whole skill. Push the drain tube into the saddle’s fitting until it seats. (Some local codes require the air-gap faucet style or a dedicated drain connection; a two-minute call to your building department settles it.)
Step 4: place, connect, flush
Set the unit and tank in place (tank upright, its valve on top), then run the color-coded tubing per the diagram — the universal habit: feed to inlet, product to tank and faucet, drain to the saddle. Push-fit fittings seal by pushing the tube fully home — about 5/8″ of engagement — then a firm tug test on every connection; a tube that pulls out in your hand would have come out at 60 psi. If the membrane ships dry in its housing, install it per the manual (gloves or clean hands; the element’s O-rings seat with a push and twist). Open the feed valve slowly, open the tank valve, and watch every fitting for ten full minutes with a flashlight and dry fingers — this unglamorous step is where DIY installs are won. Then close the faucet, let the tank fill (2–3 hours for a first fill is normal), drain that first tankful completely through the RO faucet, and let it refill: the system is now flushed and in service. Small weeps at a fitting: close the feed valve, depressurize, reseat that tube deeper — per the same discipline as our RO leak guide.

When to hire it out
- Drilling stone or porcelain. Granite/quartz need a diamond hole saw, water cooling and a steady hand; a crack costs more than any plumber. Many fabricators will drill the hole alone for a modest fee — the best hybrid option.
- Adding an electrical outlet for a tankless system or booster pump where none exists under the sink. That is an electrician’s task by code in most places.
- Well-water pretreatment plumbing — softeners, iron filters, UV — upstream of the RO: cut-in work on the main line, sized and sequenced as in our well-water RO guide.
- Anything corroded, frozen or non-standard in the existing plumbing. DIY’s savings evaporate the moment an old valve stem snaps.
Conclusion
Installing an RO system yourself is a fair weekend-morning job: feed adapter, faucet, drain saddle, tubing, a patient leak watch, and a full tank drained before the first glass. The work is not hard; it is sequential. Skip the stone drilling and the electrical, respect the tug test, and the $200–400 you did not spend on installation covers your first several years of filters — which our RO filter schedule lays out.
Update log
October 2026: Walkthrough published, sequenced from mainstream manufacturers’ installation manuals for standard 5-stage tank systems.
FAQs
How long does it take to install an RO system yourself?
One to two hours of working time for a standard tank system with an existing faucet hole; add the tank’s first fill (2–3 hours, unattended) and a full drain-and-refill before drinking. First-timers should budget the longer end and not start late in the day — the leak watch is not a step to rush.
Do I need to drill a hole for the RO faucet?
Only if your sink has no spare hole. Many sinks have an unused hole under a cover plate, or a soap dispenser that can be relocated or replaced by the RO faucet. Stainless steel and laminate decks are straightforward DIY drilling; granite, quartz and porcelain are the hire-it-out (or fabricator-drills) category.
Where does the RO drain line go?
To a drain saddle clamped on the sink’s drain pipe, ideally on a vertical run above the P-trap and never into the garbage disposal body. The saddle’s port is drilled through the near wall of the pipe only. Some jurisdictions require an air-gap faucet configuration — check local code if in doubt.
Why does the system need the first tankful drained?
The first fill rinses the membrane’s preservative, carbon fines from the new prefilters, and the tank itself. It tastes accordingly. Draining it fully and refilling is the factory startup sequence — the second tank is your drinking water.
Can I connect the RO to my fridge or a second faucet too?
Yes — a tee on the product line can feed a refrigerator ice maker or a second outlet, and kits exist for it. Two cautions: long runs drop pressure and slow the fridge’s ice maker fill, and every added fitting is another leak-watch point. Many households add an inline pressure check after a week of use.
What does a plumber charge if I decide not to DIY?
Typically $200–400 for a standard under-sink install with an existing hole, varying by market — plus more if drilling stone or adding an outlet is involved. Get the quote itemized; the hole drilling and the RO install are separable, and a countertop fabricator often drills for less than a plumber’s minimum.